How to Finish Your Denver Basement and What the Permit Process Requires
From your first eDevelopment login to final inspection sign-off — egress specs, radon rules, and realistic timelines for Denver homeowners in 2026.

From your first eDevelopment login to final inspection sign-off — egress specs, radon rules, and realistic timelines for Denver homeowners in 2026.
If you’re standing in an unfinished Denver basement right now — probably under a 1950s ranch in Westwood or Sunnyside, staring at a concrete slab and a forest of exposed joists — you’re looking at one of the better investments left in this housing market. Finished square footage at basement prices still pencils out. But only if it’s permitted correctly.
That’s where Denver homeowners consistently get sideways. Finishing a basement isn’t a single permit. It’s a multi-discipline sequence administered by Denver Community Planning and Development (CPD) at 201 W. Colfax — building, electrical, mechanical, and potentially plumbing, issued in order, inspected at defined stages, closed out with a formal sign-off. Skip a piece of it and you’re looking at a retroactive permit application, opened walls, or a disclosure problem that stalls your sale at the worst possible moment.
What follows is the Denver basement permit process in the order you’ll actually encounter it, with real numbers and local specifics. The reference project throughout: finishing a 1,000-square-foot unfinished basement in a 1950s ranch, adding a bedroom, a bathroom, and a mechanical room. Common enough to be useful, complex enough to hit every major permit trigger.
Step 1: Determine Which Permits Your Project Requires
There is no such thing as “a basement permit.” What you’re pulling is a set of permits, each covering a specific trade.
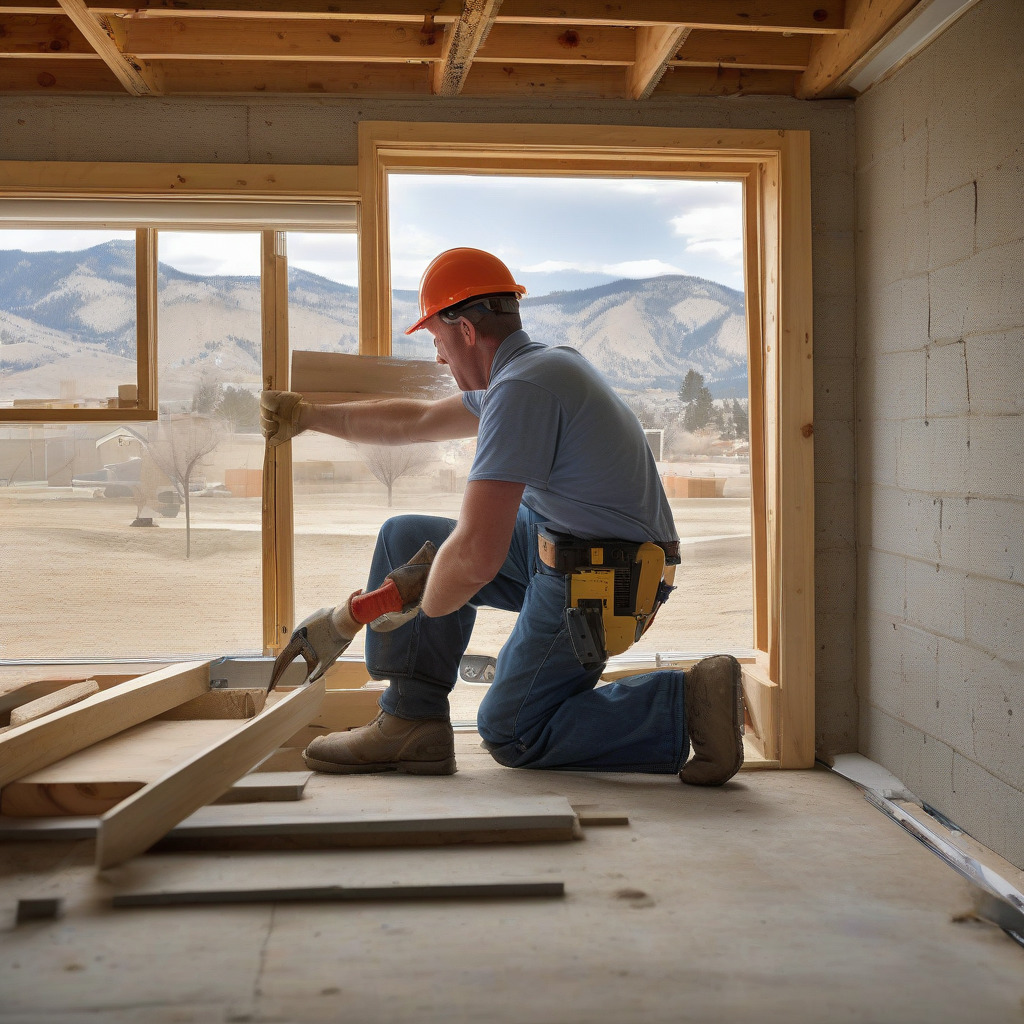
The building permit comes first. It covers new wall framing, insulation, fire blocking, and any structural modifications — including cutting egress window openings. If you’re adding a habitable room, you need one. No gray area there.
An electrical permit is required the moment you add new circuits, outlets, light fixtures, or a subpanel. Every basement finish triggers one. These are typically pulled by a licensed electrical contractor. Whether Denver allows owner-occupants to self-pull electrical permits is a jurisdiction-specific question — don’t assume based on what someone did in Aurora or Jefferson County. Confirm directly with CPD or Colorado’s Division of Professions and Occupations.
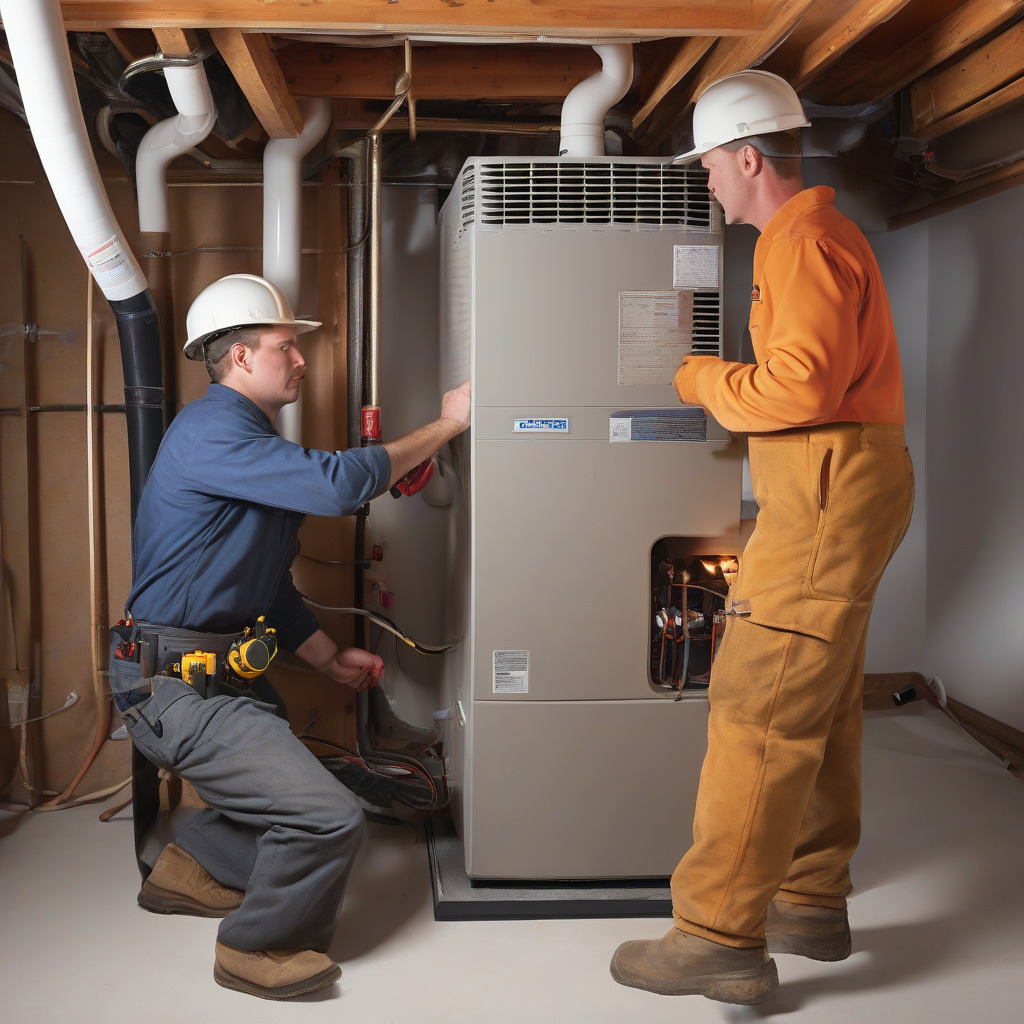
A mechanical permit covers new HVAC supply or return runs, ductwork extensions, or new equipment. Add a bedroom, add a supply duct, pull a mechanical permit.
A plumbing permit is required for any new drain, supply line, or vent — bathroom, wet bar, laundry hookup. Not every basement finish goes here, but this guide’s reference project does.
All of these are applied for through the eDevelopment portal. Confirm the current URL at denvergov.org before starting your application. You can also visit CPD’s public counter in person or call 720-865-2705 — though call earlier in the week. Friday afternoons are not their most responsive window.
Step 2: Decide Your Review Track Before You Submit Anything
This decision controls your timeline more than anything else you’ll do.
Over-the-counter (OTC) review is same-day approval at CPD’s counter, or a faster digital turnaround for genuinely simple projects. To qualify, a project generally needs no structural cuts, no egress window work, no new bathroom, and minimal HVAC changes. It’s essentially cosmetic finishing of an already code-compliant space. Very few meaningful basement finishes qualify. If yours does, the reviewer will tell you at intake.
Full plan review applies to almost everything else — egress cuts, new bathrooms, HVAC supply extensions, structural work. Historically, full residential plan review at Denver CPD has run four to eight weeks. That window fluctuates with CPD’s caseload, which swings significantly with the construction season. Confirm the current turnaround directly with CPD before you schedule your contractors. This is the single most important planning number for your project, and it’s the one homeowners most consistently underestimate.
For full plan review, CPD typically requires a floor plan with room layout and dimensions, a framing plan showing new wall locations and any structural modifications, reflected ceiling plans, a window schedule (critical for egress compliance), and separate MEP drawings for electrical, mechanical, and plumbing permits. These don’t need to be architect-stamped for residential work, but they need to be specific enough that a reviewer can verify code compliance without guessing.
One thing that catches people off guard: if your plans come from a national design service or an out-of-state contractor, make sure the HVAC calculations are altitude-adjusted for Denver. Reviewers will flag plans sized on sea-level air density. More on that below.
Step 3: Understand Denver’s Radon Requirement Before You Close a Wall
This is the step that surprises the most homeowners. The consequence of skipping it is also the most concrete.
Denver and the entire Colorado Front Range sit in EPA Radon Zone 1 — the highest-risk designation, meaning average predicted indoor levels exceed 4 picocuries per liter (pCi/L), the EPA’s action threshold. The Colorado Department of Public Health and Environment has documented elevated radon across the Denver metro for decades. This isn’t a statistical edge case or a precautionary measure for worst-case conditions. It’s a documented, persistent local problem.
Denver’s adopted building code references the IRC, which includes Appendix F on radon control methods. Confirm directly with CPD whether Appendix F has been adopted as a mandatory requirement for basement finishing permits, because the answer determines whether the rough-in below is legally required or best practice. Either way, a passive sub-slab depressurization rough-in is standard in Denver. Inspectors expect to see it.
The rough-in is a perforated pipe beneath the slab connected to a vertical chase running up through the building envelope and terminating above the roofline. No fan yet — just the passive infrastructure that makes an active system easy to add if post-construction testing shows elevated levels. This gets inspected before your walls close. It cannot be deferred.
The math on this is simple. A passive rough-in during active construction runs $300 to $600 — a few hours of pipe work while the walls are already open. Retrofitting a full active system into a finished basement with no rough-in costs considerably more and may mean cutting into finished walls or ceilings to run the chase. Do it now.
CDPHE and the Colorado Radon Coalition both recommend testing before construction to establish a baseline, then again after the project is complete. Short-term test kits are at most Denver Home Depot and Lowe’s locations. A pre-project result above 4 pCi/L is worth a conversation with your contractor about aggregate depth and slab sealing quality.
Step 4: Egress Windows — Exact Specs, Real Costs, and When an Engineer Gets Involved
If your basement includes a bedroom, egress is not optional. IRC Section R310, as enforced by Denver CPD, sets the minimums: net clear opening of 5.7 square feet. Minimum opening height of 24 inches. Minimum opening width of 20 inches. Maximum sill height above finished floor of 44 inches. All four must be met simultaneously. Wide but short doesn’t pass.
For below-grade windows, a well is required. Wells deeper than 44 inches need a permanently affixed ladder or steps. Drainage is also required — in Denver’s freeze-thaw climate, that typically means a gravel base and a tie-in to the foundation drain if one exists.
The original basement windows in most mid-century Denver homes — the small awning or slider units set into the rim joist area in Barnum, Berkeley, Athmar Park, and similar neighborhoods — don’t come close to current egress standards. Cutting a new opening is the rule for any Denver basement bedroom project, not the exception.
A new egress window cut typically runs $2,500 to $5,500 per opening. Poured concrete foundations cost more to cut than concrete block. The range reflects excavation depth, window well size, whether a drain tie-in is needed, and where the market is. Get at least two bids — the spread on this line item can be substantial.
Cutting a narrow egress opening generally doesn’t require a structural engineer. Wider openings in poured concrete foundations — where the cut width affects load distribution — can. Confirm the specific width that triggers mandatory engineer review with CPD for your foundation type before finalizing your plans.
Step 5: Submit Your Application and Know the Inspection Sequence
Once your plan set is ready, you submit through eDevelopment: create an account, upload your documents in CPD’s specified formats (typically PDF, with naming and size requirements), enter your project valuation, and pay the application fee.
Fees are based on declared project valuation, not square footage. For a $30,000 basement finish, expect roughly $500 to $900 in combined permit fees across all trade permits. That shifts with higher project valuations. Verify the current fee schedule with CPD before submitting — fee schedules are updated periodically and those figures need confirmation.
After permits issue, your project moves into a defined inspection sequence. Miss an inspection or get them out of order and your project stops.
At minimum, a Denver basement finish requires these inspections:
- Rough framing: All new walls framed, fire blocking installed, egress rough openings complete — before insulation.
- Rough electrical: All wiring, boxes, and circuits roughed in — before insulation or drywall.
- Rough mechanical: Ductwork and new equipment roughed in — before drywall.
- Rough plumbing (if applicable): All drain, waste, vent, and supply rough-in — before any slab penetrations are closed, and before drywall.
- Radon rough-in: Passive sub-slab system installed and accessible — before drywall.
- Insulation: Installed to required R-values — before drywall. Sometimes combined with framing inspection.
- Final: All finish work complete, fixtures installed, mechanical fully operational.
Each inspection is scheduled through eDevelopment. Build real buffer time between phases — not optimistic buffer. Scheduling availability varies with CPD’s workload and the season, and every inspection delay slides your entire schedule.
At final inspection, CPD issues documentation confirming completion of permitted work. Confirm the exact name and form of that document with CPD before closing out. The terminology matters at resale — you want the right paperwork for disclosure and lending purposes.
Step 6: Build a Realistic Project Calendar
For a mid-scope Denver basement finish — one bedroom, one bathroom, new HVAC supply, egress window cut, going through full plan review — here’s an honest timeline.
Weeks 1–2: Plan set preparation. If you’re hiring a designer or drafter, get a committed delivery date in writing before you assume you’re on track.
Weeks 3–10: Permit application and plan review. Submit through eDevelopment, pay the fee, wait. Current full residential plan review has historically run four to eight weeks. Plan review frequently generates correction comments requiring a response and resubmission — this happens more often than homeowners expect and can add several more weeks. Confirm the current turnaround with CPD before you build your schedule around it.
After permit issuance: Construction starts. Framing and rough-in trades typically run two to four weeks depending on scope and subcontractor availability.
Rough inspections: Schedule through eDevelopment as each phase completes. Build real time into this phase.
Finish work: Drywall, paint, flooring, trim, fixtures, cover plates, registers.
Final inspection and close-out.
Four to five months total from initial plan submission to final sign-off is realistic — assuming no revision cycles and no contractor gaps. Projects that hit a comment round, or that lose a subcontractor between permit issuance and construction start, run six months routinely. Start the permit process before your contractors are staged. The plan review window is your critical path, not the construction. Most homeowners who’ve been through this once will tell you the same thing.
What a Denver Basement Finish Actually Costs
The following figures represent current Denver market conditions for a 1,000-square-foot basement finish with one bedroom, one bathroom, an egress window cut, and standard HVAC extension. Get at least two current bids from active Denver contractors before relying on any of these numbers. For broader context on what projects like this mean for property values, this falls squarely within our home & property coverage of Denver housing investment decisions.
| Scope Item | Typical Range |
|---|---|
| Framing (walls, ceiling soffits) | $4,000 – $8,000 |
| Insulation (walls, ceiling) | $2,500 – $5,000 |
| Electrical rough and finish | $3,000 – $8,000 |
| HVAC supply extension and registers | $2,000 – $5,000 |
| Egress window cut and installation | $2,500 – $5,500 |
| Radon rough-in (passive) | $300 – $600 |
| Plumbing rough and finish (full bath) | $8,000 – $18,000 |
| Drywall, tape, and texture | $1,500 – $3,500 |
| Paint | $1,500 – $3,000 |
| Flooring (LVP or carpet) | $2,500 – $5,000 |
| Permit fees (all trades) | $800 – $1,500 |
| Total project range | $25,000 – $75,000+ |
A bare-bones finish — no bathroom, standard materials, existing window that already qualifies for egress — can land near the bottom of that range. A full bathroom, wet bar, custom millwork, and high-end flooring will push past $75,000. Before relying on any contractor for pricing or scheduling, confirm they’re currently active and get written estimates.
Sidebar: Can You Pull Your Own Permit?
Denver allows owner-occupants to pull their own residential building permit. If you own and live in the home, you can act as your own general contractor and submit plans without a licensed GC involved.
Trade permits are different. Electrical and plumbing permits in Denver are typically pulled by licensed trade contractors. Whether Denver allows homeowner self-pull for electrical work is governed by Colorado state law and Denver’s local ordinance — confirm with CPD or the Division of Professions and Occupations before assuming. Mechanical permits depend on the specific scope, and again, ask CPD for your specific project.
What homeowner-GC status actually means: you carry the code compliance liability on the building permit scope. You must ensure your subcontractors pull their own trade permits rather than working under yours. Failing to verify that your electrician and plumber have their own permits is probably the most common mistake homeowner-GCs make, and it creates real problems at inspection. It’s worth being deliberate about.
Whether to do it at all depends on your tolerance for managing the process and your confidence reading code documents. For most people with full-time jobs, the fee savings don’t outweigh the time cost. But for someone who’s done residential work before and understands what they’re taking on, it’s a legitimate option.
Sidebar: What Denver’s Altitude Means for Your Basement Plans
At 5,280 feet, Denver’s air is roughly 17 to 18 percent less dense than at sea level. That’s not a curiosity — it has direct implications for your permit drawings and your HVAC system.
A furnace or air handler sized on sea-level Manual J calculations will be undersized in Denver. CPD plan reviewers will flag HVAC plans that don’t account for elevation. Ask your HVAC contractor directly whether their calculations are altitude-adjusted. If they look uncertain, find someone else. Out-of-town contractors get this wrong with notable consistency.
Denver sits in IECC Climate Zone 5. Current prescriptive minimums for basement walls under Zone 5 are R-15 continuous insulation or R-19 cavity insulation for wood-framed walls. Confirm Denver’s currently adopted IECC edition and the exact requirements with CPD before finalizing your insulation spec — adopted editions and local amendments change.
Denver’s semi-arid climate also changes the moisture math. The concern in a Denver basement isn’t typically humid outdoor air pushing inward — it’s winter vapor drive from the warm interior toward the cold foundation wall, plus the occasional but real risk of bulk water intrusion in a hard freeze-thaw cycle. Vapor retarder placement and air sealing strategy should reflect those conditions. Standard guidance written for the humid East Coast doesn’t translate directly, and if your contractor is quoting the same approach they’d use in New Jersey, that’s worth a direct conversation.
Finally: Denver’s frost depth is 36 inches. Any exterior excavation for a window well needs drainage designed for freeze-thaw conditions — not just a gravel sump, but one that won’t heave or pond when the ground cycles through winter.
Before You Start
The Denver permit process isn’t paperwork for its own sake. The inspection sequence catches real problems — egress windows too small to escape through, radon pathways left open in a high-exposure zone, HVAC systems that leave the new bedroom 60 degrees in January. A permitted, inspected basement also has documented value at resale. An unpermitted one creates disclosure obligations that can kill a transaction or force a price concession that dwarfs whatever you saved by skipping the permit.
Call CPD at 720-865-2705 with questions specific to your project. Their public counter staff can answer things no guide can fully anticipate about your foundation type, your neighborhood, your specific scope. Start that conversation early — before your contractor is ready to break ground, not after.
CityDesk Denver covers local business, development, and neighborhoods for Denver residents. Permit requirements, fee schedules, and processing times are subject to change. Confirm current requirements directly with Denver CPD at 201 W. Colfax or through the eDevelopment portal before beginning a permit application.