How to Prep Your Car for the I-70 Mountain Drive to Grand Junction
Which systems actually fail on the Grand Junction run, what a real pre-trip inspection costs at a Denver independent shop, and why you need to book before Memorial Day weekend

Which systems actually fail on the Grand Junction run, what a real pre-trip inspection costs at a Denver independent shop, and why you need to book before Memorial Day weekend
If you’re planning a summer drive west on I-70 to Grand Junction, Moab, the ski towns in shoulder season, or anywhere past Glenwood Canyon, the prep work you do in Denver determines whether you make it to your destination or become the reason traffic backs up for miles through a canyon with no shoulders.
This is not hyperbole. The Denver-to-Grand Junction run is approximately 245 miles, but its demands on your car are nothing like a 245-mile drive across Kansas. Four major elevation stress points, sustained grades that heat brakes and transmission fluid on descents just as surely as they tax engines on climbs, and 12.5 miles of canyon where a breakdown doesn’t just strand you — it closes the interstate for everyone behind you.
Here’s what to check, in what order, what it costs at real Denver shops, and how far in advance you need to call.
Why This Drive Is Different From Any Other Summer Road Trip
The temptation is to treat I-70 west as a long highway trip. It isn’t. The stress on your car is concentrated and sequential: Floyd Hill starts the punishment within 40 minutes of Denver, the Eisenhower Tunnel sits at 11,013 feet, Vail Pass crests at 10,662 feet, and then Glenwood Canyon drops you through 12.5 miles of carved rock with the Colorado River on one side and sheer walls on the other. It’s a genuinely spectacular drive. It’s also a hard one on cars that haven’t been properly maintained.
What breaks cars on this run isn’t peak elevation. It’s sustained effort. Long climbs push cooling systems and engines hard, followed immediately by long descents where brakes absorb the kinetic energy of several tons of vehicle losing altitude for miles at a stretch. Transmission fluid in an automatic running hot on a downhill grade while the driver rides the brakes is a scenario Denver mechanics see recovered from I-70 every summer. So is an overheated cooling system that was fine on the way to the mountains but had a pressure cap that was quietly failing for months.
Glenwood Canyon deserves its own sentence. CDOT can and does close I-70 completely when a vehicle breaks down in the canyon, because there’s no safe recovery shoulder through most of its length. Your car trouble becomes a regional traffic event. Keep that in mind when you’re deciding whether to skip the inspection.
Step 1: Book Now, Not the Week Before You Leave
Everything else in this article is useless if you don’t act on the booking question first. Denver shop availability in early summer catches people off guard every year.
Denver independent shops — the ones doing actual diagnostic work rather than free multi-point visual walkarounds — are booking 1.5 to 3 weeks out through late May and June. The window immediately before the Fourth of July is the single worst time to call. If your trip is over July 4th weekend, the actionable deadline is Memorial Day: book by then and you’ll likely get an appointment with time to address anything the inspection finds. Call the week before July 4th and you may not get in at all.
Independent shop clusters worth calling are concentrated along South Broadway in Baker, West Colfax near the Lakewood border, 44th Avenue in Wheat Ridge, and Broadway south of Hampden in Englewood. AAA Colorado maintains a list of approved repair facilities; shops pay to be on it and must meet baseline accountability standards, making it a reasonable starting point if you haven’t used a shop before. When you call, ask specifically what their pre-trip inspection includes. If they can’t tell you in specific terms, hang up.
Step 2: Understand What Altitude Does to Your Cooling System
“Altitude is hard on your car” gets repeated constantly and almost never explained in a way that tells you what to actually do about it.
At Denver’s elevation, atmospheric pressure is already meaningfully lower than at sea level. Climb to 11,000 feet and it drops further. Your engine works harder on the ascent, generating more heat. Simultaneously, lower atmospheric pressure means coolant operates closer to its effective boiling margin. The pressure cap raises the coolant’s boiling point above ambient — but only when it’s actually holding its rated pressure, the hoses aren’t soft or cracked, and the coolant itself hasn’t degraded.
A pressure cap rated for 16 PSI but actually holding significantly less won’t cause problems on a Denver surface street. It becomes a problem at mile seven of a sustained climb when coolant temps rise above where they typically run. That’s the inspection finding that saves a trip. A cooling system pressure test — where the shop pressurizes the system cold and watches for drops — is standard in a proper pre-trip inspection and costs negligibly more than a visual check of the reservoir.
Modern vehicles with good cooling system maintenance handle altitude well. The trouble comes from deferred maintenance: coolant that hasn’t been exchanged in years, hoses cracking from the inside where you can’t see it, pressure caps that seem fine because nobody’s tested them. This is exactly where inspection work pays for itself.
Step 3: Know the Failure Priority List for I-70
A generic pre-trip checklist puts tires first because tires are what most people think about. Mechanics who actually receive I-70 breakdown tows tell a different story. In our automotive coverage we’ve tracked the same pattern across Denver shop interviews: it’s systems, not tires, that strand drivers on mountain routes.
Cooling system failures lead the breakdown roster — and they lead for the reasons already explained. The system is simultaneously under extra load and less capable of compensating for deferred maintenance at elevation.
Brakes follow closely. Pad thickness matters less on I-70 descents than pad and rotor condition together. What almost nobody thinks to check: brake fluid moisture content. Brake fluid absorbs moisture from the air over time, and water-contaminated fluid has a lower boiling point than fresh fluid. On a long Vail Pass descent where drivers are braking repeatedly over four or five miles, fluid temps rise. Degraded fluid can boil, creating compressible vapor in brake lines and a pedal that goes soft at the exact moment you need it most. That’s not a scenario you want to discover empirically. Brake fluid condition testing should be part of any pre-trip inspection for a mountain drive.
Transmission fluid and cooler function are the underreported risk. In an automatic — especially older units and anything towing a trailer — long downhill grades with engine braking place serious thermal stress on the transmission. The transmission cooler must dissipate that heat. Degraded fluid that’s dark and smells burned is a warning sign most drivers never see, because most drivers don’t pull the transmission dipstick. Any shop doing a real inspection should check fluid condition, not just level.
Tires: tread depth and sidewall condition for a mountain drive, not just inflation. Colorado’s traction law sets a minimum of 3/32 inches. Tires at that legal minimum don’t belong on a mountain pass regardless of the law — and anything showing sidewall cracking or uneven wear should be addressed before the drive, not after you’re white-knuckling it down the back side of Vail Pass in afternoon thunderstorm rain.
Battery aging is something most drivers miss entirely. A battery that starts the car reliably in Denver’s summer heat can fail at 11,000 feet, where cold night temperatures demand more from starting circuits. A load test — not just a voltage check — reveals whether a battery has the reserve capacity to handle mountain conditions.
Belts and hoses warrant a visual inspection of serpentine belt condition and coolant hose flexibility. Quick, shouldn’t add significant cost. A cracking hose or fraying belt is not what you want to discover in Glenwood Canyon. One more thing worth mentioning: if your A/C is already underperforming in Denver, it’ll be worse at altitude. An A/C compressor adds measurable load on climbs. If your temperature gauge rises on a steep grade, turning off the A/C for a few minutes is a legitimate response — you’re managing load, not nursing a failing engine.
Step 4: Get a Real Inspection, Not an Oil Change
Most drivers think they’re getting a pre-trip inspection when they schedule an oil change plus a “check everything.” They’re not getting the same thing.
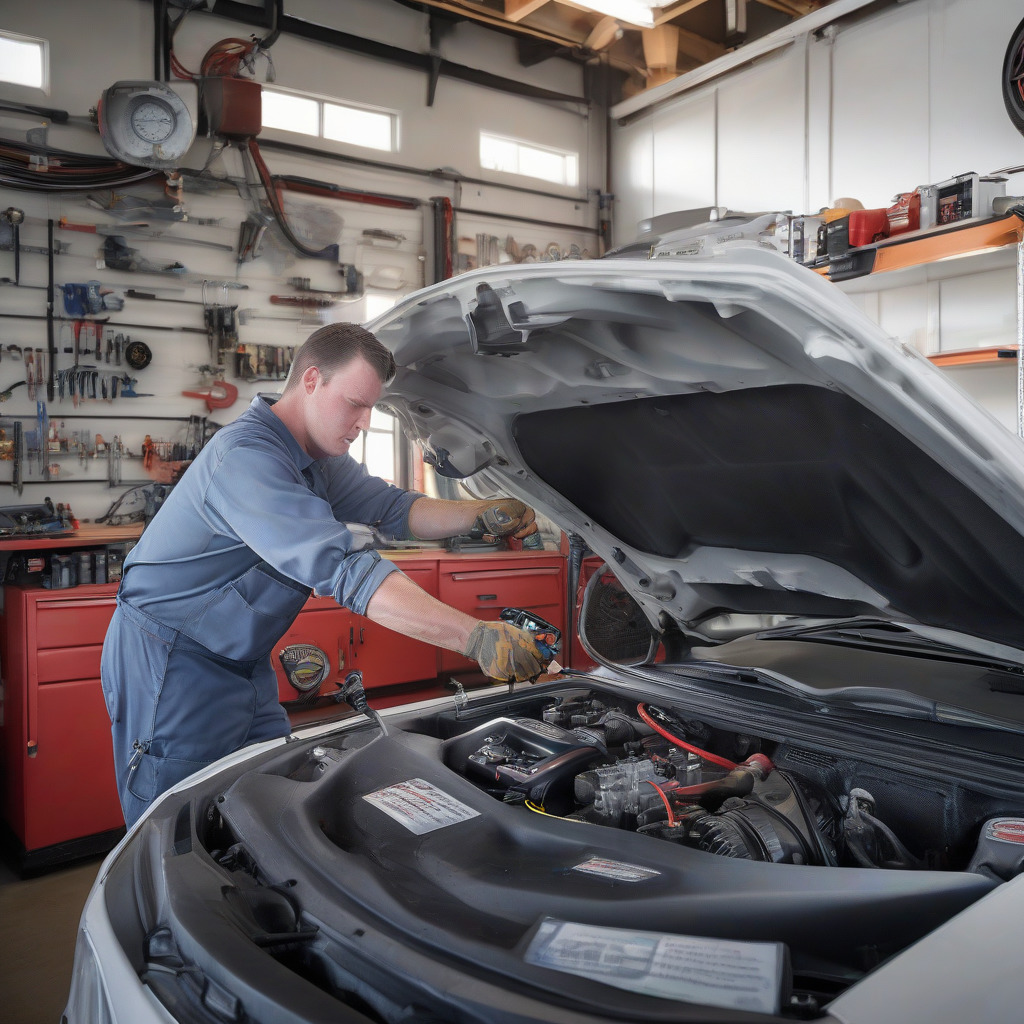
A genuine pre-trip inspection for a mountain drive should include a cooling system pressure test, brake pad measurement in millimeters (not a verbal “looks good”), rotor condition and brake fluid moisture check, tire tread depth gauged with an actual tool, battery load test, belt and hose visual, all fluid levels and condition including transmission, and a lights check. The inspection should produce a written report you can read.
What you get at a chain shop’s free “multi-point visual” is different. It’s a loss leader — items eyeballed from a standing position, often by someone who gains from flagging services as deficient. A free visual can surface obvious problems. It is not a pressure test, a load test, or a measured brake assessment. This distinction matters when you’re deciding where to spend your time before a canyon drive.
Step 5: What a Real Inspection Costs at a Denver Independent Shop
A comprehensive pre-trip inspection at a Denver independent shop runs roughly $65 to $130, depending on the shop and scope. That should include a cooling system pressure test, brake pad measurement, and battery load test — not a free visual. Call at least three shops directly for current quotes before booking; labor rates vary and change seasonally.
Firestone and Tires Plus regularly offer free or $19.99 multi-point inspections. That price reflects what the product is: a visual review designed to generate upsell recommendations. Use it to spot obvious tire or lighting issues. Don’t use it as your pre-Grand Junction safety check.
Step 6: What to Tell the Mechanic So You Don’t Get a Generic Checkup
When you book, be specific: “I’m driving I-70 west to Grand Junction. I want a cooling system pressure test, brake pad thickness measured in millimeters, brake fluid condition checked, and transmission fluid condition checked. It’s an automatic.” If you’re towing anything — a trailer, a camper, a boat — say so. Towing changes the priority order. Transmission cooler function becomes critical, and the shop needs to know your setup to assess it properly.
Disclose an active check-engine light at booking. Beyond the mechanical implications, an active check-engine light will fail Colorado’s AIRS emissions testing if your vehicle is registered in a covered county — Denver, Jefferson, Arapahoe, Adams, Boulder, Broomfield, Douglas, El Paso, Larimer, and Weld among them. Confirm current county requirements at colorado.gov/dmv. A check-engine light ignored before a road trip can become a registration problem when you return. That’s an annoying way to end a vacation.
If you can’t remember when you last had brake fluid exchanged, say that too. A shop that knows you’re asking the right questions will do better work.
Step 7: Do the Day-Before Checks Yourself
You don’t need a lift or tools for these. Do them the evening before departure.
Check your coolant reservoir level cold — never open a hot radiator cap. The reservoir should be between the MIN and MAX marks. If it’s at or below MIN, add the correct coolant type for your vehicle (check the owner’s manual; mixing coolant types is a genuine problem). If it’s been low repeatedly, that’s a conversation to have with a mechanic before the drive.
Tire pressure: use the number on your door placard, not the maximum PSI embossed on the tire sidewall. Those are two different numbers for two different purposes. Check and inflate before departure; an early morning start from a cool garage can produce lower readings than you expect.
Crouch down and look at the full sidewall of each tire. Cracking, bulging, or visible cord means don’t drive. A tire that looks fine on top can have serious sidewall damage at road level.
Walk around the car with a friend for the lights check, or back up to a wall and use your reflection. Headlights, taillights, brake lights, turn signals. A burned brake light is an easy fix before you leave.
Run your wipers with washer fluid and watch for streaking or chattering. Mountain afternoon thunderstorms are real and frequent, and the wrong time to discover your wiper blades are shot is halfway through Glenwood Canyon in a downpour.
A pre-trip inspection costs between $65 and $130 and a couple of hours of your Saturday. Book by Memorial Day, tell the mechanic specifically what you need, and the drive becomes what it should be. Miss the window, skip the inspection, and you might spend your vacation as a traffic incident report on CDOT’s website.